Showing posts with label Home Decor. Show all posts

Wednesday, April 11, 2018

Debuting Fluttering Butterfly Collection+Magnetic Calendar

Hello Friends, welcome to a inspirational Wednesday where we are debuting the Fluttering Butterfly collection.


Instructions


It’s a magnetic calendar built on a white chipboard and embellished with foam flowers and a white fluttering butterfly. Take a piece of white chipboard that measures 7”x3”. Cut a pieces of pattern paper from the paper collection and cover the chipboard. Take another pattern paper that measures 1/8” less than the chipboard and then stick it .Stick another layer of pattern paper that measures 1/8” less than the first layer. Distress the edges of all the paper. Die cut a butterfly using a white card stock, cut 2 piece and adhere to each other to make it sturdier. Stick some pearls to finish the butterfly.For the flowers, used some foam. Stamp and die cut some foam flowers from the botanical collection using Plum Archival ink and teal Archival ink. Once die cut apply heat to shape the petals and the leaves. Once all the flowers are shaped place them into a bunch of pearl stamens. For the calendars, print any style and then cut it into 3”x2”, punch them and tie it with a jute twine. Assemble the flowers, die cut butterfly and the leaves. Place a pair of magnet and then place the calendar.


Supplies

HCD1-7178 Fluttering Butterfly Die                                                                                                
HCDP1-289 Butterfly Dreams Paper Collection
159723, Designer Dries clear Adhesive
352854, Glue Tips - Metal
HCCC2-451, 8.5 x 11 Cardstock - White

Wednesday, April 4, 2018

Pretty Pink Basket

Good Morning Friends, Welcome to another fun inspirational Wednesday. I am at Heartfelt Creations today and having some creative time making a basket using some pattern papers , flowers shaping stamp , dies and molds.


Instructions

We all love pretty way of gifting our handcrafted goodness and love. Today the basket speaks of the same. Take any color card stock and cut it as 8 1/4”x6 3/4”. Score all sides at 2” and fold it. Take any pattern paper and cut it at 1/8” less for all the sides and adhere to it. Fold the box and adhere all the sides. For the handle cut a long strip of colored strip of paper that measures 1.5”x10”. Cut a piece of pattern paper which measures 1”x10” and stick to it. In order to decorate the handle die cut a piece of decorative border die  and stick to it. Once all done tuck in the handle on both the sides. To decorate the basket, die cut 2 piece of decorate die from a white card stock. I have placed the die cuts on both opposite ends of the basket. For the flowers.I have stamped various pieces of the flowering dogwood using plum Archival ink from a white card stock. Die cut and then color the die cuts using Pink and Green archival ink. Sprinkle some water and damp the flower die cut pieces. Shape them using the flower shaping tool and then end the flowers using the center prills. Assemble the flowers with some frills and leaves. For the frills and filler flowers I have used the lush Lilac flowers and also the filler image. Colored using the zig brushes.

Supplies

HCD1-7170 Lush Lilac Die
159723, Designer Dries clear Adhesive
352854, Glue Tips - Metal
HCCC2-451, 8.5 x 11 Cardstock - White

                          Until then Happy crafting and see you soon with some creative inspiration.


Sunday, August 20, 2017

Happy Morning!

A very good morning to a happy bright Sunday! Welcome all my readers to another post where I create with Susan's Flower dies. Working with sunflower has been one of my most enjoyable moment and that too always.

The bright color, vibrance and its largeness has always captures me. Today I have a semi mixed media ( if i may name so) canvas featuring the sunflower.


The canvas is prepared by a thin layer of Gesso on which all the coloring and the texturing is created. Later the bouquet is assembled.

I would love to hear from you! Thanks for stopping by and soon will be back with some more fun creative projects.


Wednesday, July 19, 2017

Happy Wednesday ! Christmas Rosette

Hello friends, by this time as you know its Christmas already at heartfelt Creations! We all are happy creating Christmas Cards and you would witness the beautiful cards and projects at the blog by all the talented designers from across the world.

Today I chose to create a Rosette instead of a Card. I love the concept of rosette however never made one in the past so the theme was absolutely apt for me to create one this time.


Instructions

The final rosette measures 6" in diameter. Cut 2piece of 3" x 12" strip from the HCDP1-280 Festive Holly Paper Collection. Score at 1/8" of regular intervals. Join the 2 12" strips and fold the scores at regular mountain and valley. Join the 2 ends to with glue gun place it on a small piece of paper to form the rosette. 

Die cut 2 pieces using the circle die with 1/8inch less and adhere to each other. Stamp and die cut multiple pieces from the HCD1-7146 Festive Holiday Die and stamp using Frosted Amber distress oxide.Shade and shape the sides of the holly leaves using frosted Amber and Iced Pruce distress ink.Once colored heat set the leaves using Rajni Chawla's frosted powder.

For the snoow also I have used the Frosting powder by Rajni Chawla on top of the berries and leaves.
First place the rosette and then place the stack of die cut circles. Adhere and arrange the cluster of holly leaves and berries on a base of mesh and some dry artificial leaves.To finish sprinkled and heat set some snow using the frosted powder.

Products

HCD1-7146 Festive Holiday Die
HCDP1-280 Festive Holly Paper Collection
HCPC-3792 Festive Holiday Cling Stamp Set
HCPC-3793 Holly Berry Jingle Cling Stamp Set
HCD1-7147 Holly Berry Jingle Die
HCPP3-452 Cardstock Pack of 25 - White
HCDA2-450 Stack and Store Daubers-Pack of 30
PGM150161 59723 Designer Dries Clear Adhesive
HCD1-7147 Holly Berry Jingle Die
352854 Metal Tip for Adhesive Bottles

Let me know how you liked the projects. Would love to hear from you and see your lovely comments.

Until then happy Crafting!


Wednesday, May 24, 2017

Altered Art + Classic Petunia

Hello friends. At heartfelt Creations we have debuted the Petunia this month and you have already witnessed an array of this beautiful flowers in many forms. 

Incase you still did not then head over to the Heartfelt Creations Blog Here. You will get to see loads of inspiration for yourself.

For today's project I have a altered Art for you all! I picked this iron bell from a Craft Exhibition and for long it was up on my wall till when I decide to alter it.


For the bell I created a Box also with the Petunia Paper Collection.


Instructions

Start by stamping multiple set of petunias from Small and large Classic Petunia using archival ink and pine needle for the leaves. Using the coordinating dies, die cut all the stamped images.Use the Stack and store daubers to shade the flowers using distress ink Dustic Concord. Finish the flowers by stacking each other and lay it flat and add prills at the center.

Stamp and die cut the petunia classic bouquet using archival ink.Water color the images using distress ink.Place the color petunia bouquet on the rim of the bell using hot glue.Place the shaped petunias, leaves ,stamen as desired in and around the bell structure to complete the composition.

To finish apply glossy accent to the bouquet and the flowers and sprinkle some frosty powders.

Heartfelt Products

HCD1-7141 Classic Petunia Bouquet Die
HCPC-3787 Classic Petunia CLing Stamp Set
HCD1-7139 - Small Classic Petunia Die
HCPC-3785 - Small Classic Petunia Cling Stamp Set
HCD1-Large Classic Petunia Die
HCPC-3786 Large Classic Petunia Cling Stamp Set
HCST1-401 Deluxe Flower Shaping Kit
HCPP3 - 452 - 1 - paper Pack of 25 - White
HCDA2-450 Stack and Store Daubers-Pack of 30
159723 Designer Dries Clear Adhesive
352854 Metal Tip for Adhesive Bottles
ANC845 - Power Outage Prills

Other Products

Iron Bell , Multi Medium Matt , heat gun, dimensional adhesive, Glue Gun, Glossy Accent, scissors, heat tool, Distress inks, Dustic Concord, Archival Black, Pine Needles.

Do share how you like my altered piece.
Will be back soon.
Until then lots of love and Happy Crafting!


...................................

Sunday, January 15, 2017

Home!

Hello Everyone,

This is a continuation of my earlier post " Bold and Beautiful". I am writing this post specially for 2 challenges that inspired me and help me in the idea.

So let me show you a project glimpse and then talk about how I made it.


The color concept was inspired and made as per " The Card Concept" as you see below.


Color : Pink, Black and Golden.
Flower : Pink and Peach 
Shape : Stripes.

This project will be framed as a Key holder Plaque which needs to be done by a carpenter.What you see here is the version before. While I am writing this post its getting framed :) :) :).

Now a full reveal of the plaque.


The flowers are made using Elizabeth Craft Designs - Susans Anemone Dies.
The bold letters are from Die Cuts and More.
The Big ornate is also from Die Cuts and More.

I hope you will like my project and I was able to do justice to the challenges I will enter.

Entering in:


See you soon at the next blog!
Till then Happy Crafting :)!


Monday, January 9, 2017

DIY+Bottle Art

Happy New Year my friends and this is my first post for 2017. 2016 has been a productive year for me in terms of learning new art form, finishing some of my oil paintings, taking up new design work and getting recognized and appreciated by many.

With 2017 I intend to do more, learn more, share more which eventually should inspire my readers.

Today I am blogging for Happy Little Stamper with Anything with dies challenge. I love making flowers and this time I up cycled a wine bottle using Heartfelt Creations Daisy Flower Die.

First let me share a glimpse of the flower I created using the die which I later used to embellish the bottle.


Later I used a old wine bottle which I wrapped with twine and then used the flower arrangement for the bottle decor. The final look is something like this.


The Dies used are Cheery Lynn and Heartfelt Creations flower dies.


Hope you like it and its a very easy peasy project that all of you can try at home.


Friday, December 9, 2016

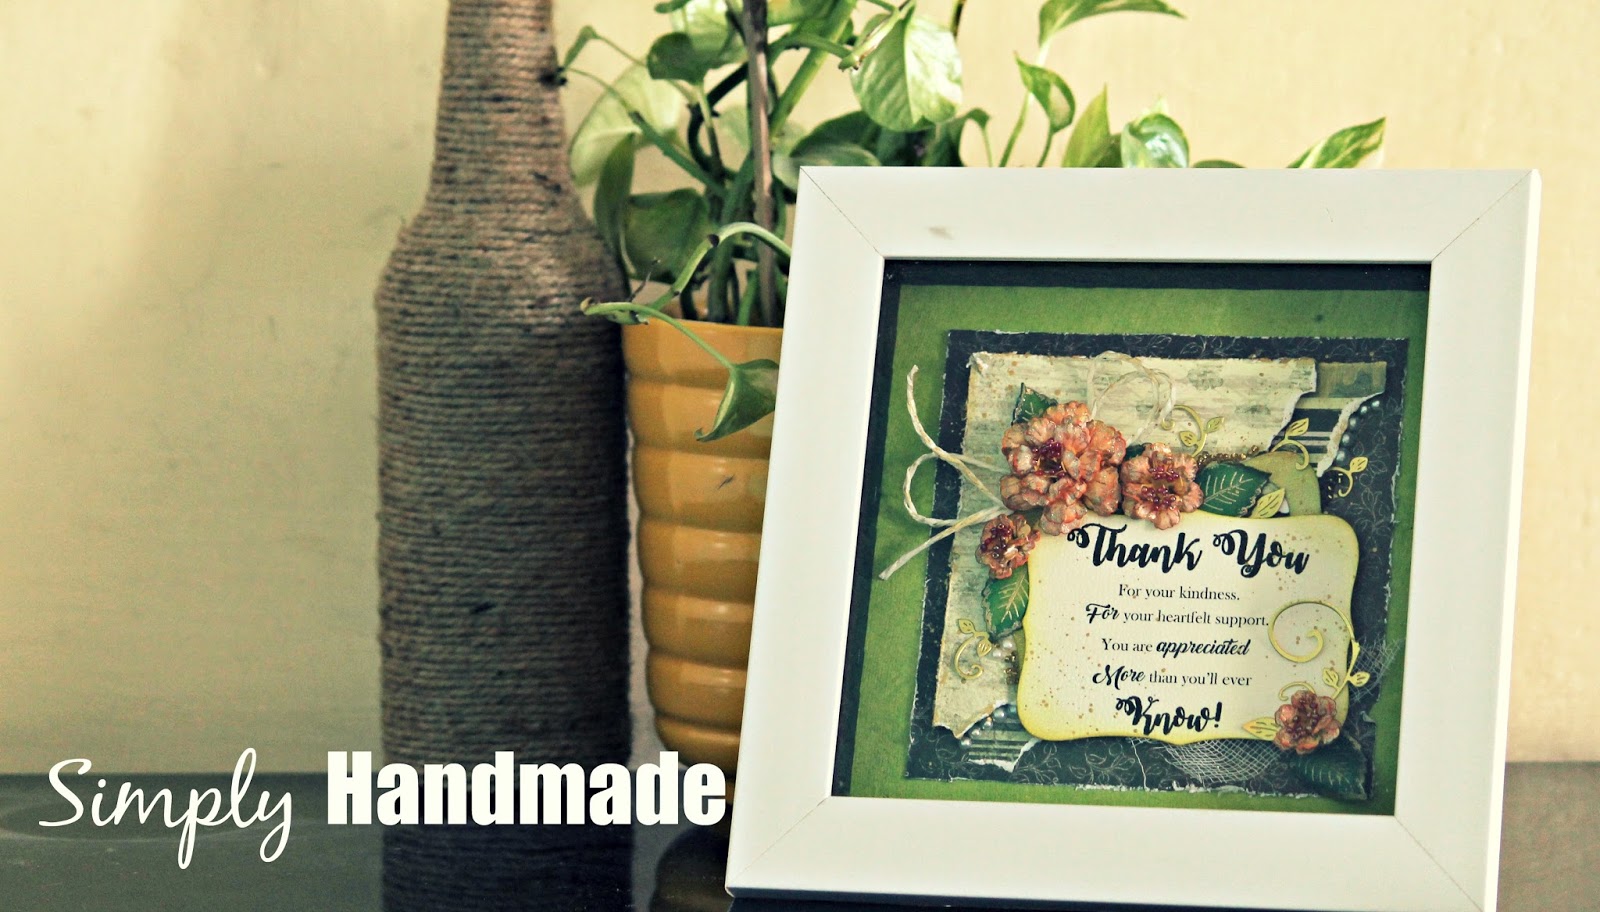
Thanks - Desk Decor

Hello friends, today I am at the Happy Little Stamper Blog for " Anything goes with Challenge"

Dies are fun element to work with as you can create endless possibilities. Off late I have been creating background using dies one of which you can see here. Many more will be uploaded soon.

So in today's post I have used all heartfelt Creations Product and created a layout which is later framed as Desk Decor Piece.


The flowers are gold embossed and then colored with distress ink and finished with glitter gloss.


The complete layout is 7x7 inches which after framed is little large, There are various small elements that I have added.

Product Used
Dies : Heartfelt Creations Botanical Rose ( Flowers and leaves)
Spellbinder | Cheery Lynn

After Frame it looks something like this.


Do let me know how you like it!
See you soon at the next blog!


Tuesday, July 19, 2016

Home Sweet Home!

Hello Everyone, been a while. Honestly due to some personal emergency didn't have the space for my craft table.

But I am happy I am back and hope gets back to my craft zone soon.

Well today's post is special in a way that I made this for a very dear person. This is what I feel that when the reason is beautiful, the creation has to be something special.

My project for today is a custom made home decor. Well you may not see the framed project as the carpenter is still working on it however the concept is such.

Will definitely post the complete key holder once assembled.


I have used the chipboards from Itsy Bitsy, Heartfelt creation paper pad for the background and Cheery Lynn gardenia Strip for the flowers along with some Heartfelt Creation dies.

This piece will be framed and ready to use in some days.

I am entering this also in the current Cheery Lynn Challenge


Monday, March 21, 2016

Fridge Magnets

Hello Everyone,

Hope this finds you all in good crafty place. Its been a while I have been around and so today I have some cute projects to share which is not only easy to make however with less supplies and great for gifts.

Project 1: Fridge Magnets: | East to create | Less Supplies


Project 2 : Nysaa Tag: By now you must have been introduced to Nysa, yes she is someone new to the PABD family. And it is a beautiful feeling when you can create something equally beautiful project like her.


Hope you like it and would love to hear from you all!
Thanks for stopping by!

See you at the next Blog!


Friday, November 7, 2014

Coasters

This one is an old piece of art, never put it on my blog ever. These are decoupaged coasters.


The MDF products are again from Craftslane. Paper used from DCWV stacks.

Hope you like it!

See you at the next blog.


Thursday, November 6, 2014

KeepSake Box

Hello Everyone,

Today I am sharing a decoupaged keepsake box. Yeah thats my new venture. From the time I have known this I am almost going crazy trying my hands on this.


You can get the raw MDF products from Craftslane. They are simply lovely.

It would be unfair not to mention Divya and you can find her work in the FB link. She and her work is my inspiration to start working on Decoupage.

Papers are from DCWV stack and I have heat embossed it with silver to give the swirls.

Hope you like it.

See you at the next blog!

Thursday, May 8, 2014

MDF Tissue Box...

Hello Everyone

After a weeks time, I am back. Got tied up with some other priorities...

Anyways since the time I came across Craftslane and thanks to Ujjwal whose blog introduced me to Craftslane, I could not hold myself to try my hands at one of their products.

Though I got many of their products, however I started with a Tissue box.


I have used handmade crochet flowers and patterned paper to decorate the box. Kept it simple and did not embellish much to make it user friendly :).


This is the first time I have used the decoupage technique on a wooden surface and I am quite happy on the way it has come out :).

I am working some more projects from the Craftslane products, wood be back soon

See you at the next blog!!!!