Wednesday, June 29, 2016

Tag It!

Finally its time for the last post for the month and what an amazing challenge to end with.

Like I said before I love playing " Tag You're It Challenge" and so I am back with another tag for the challenge.

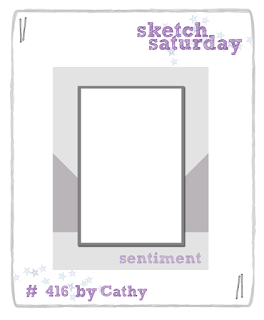
The inspiration is as below.


Some of the few elements that has inspired me which allowed me to make my tag are:

- White Embossed Image
- Double Tag
- Pattern Paper

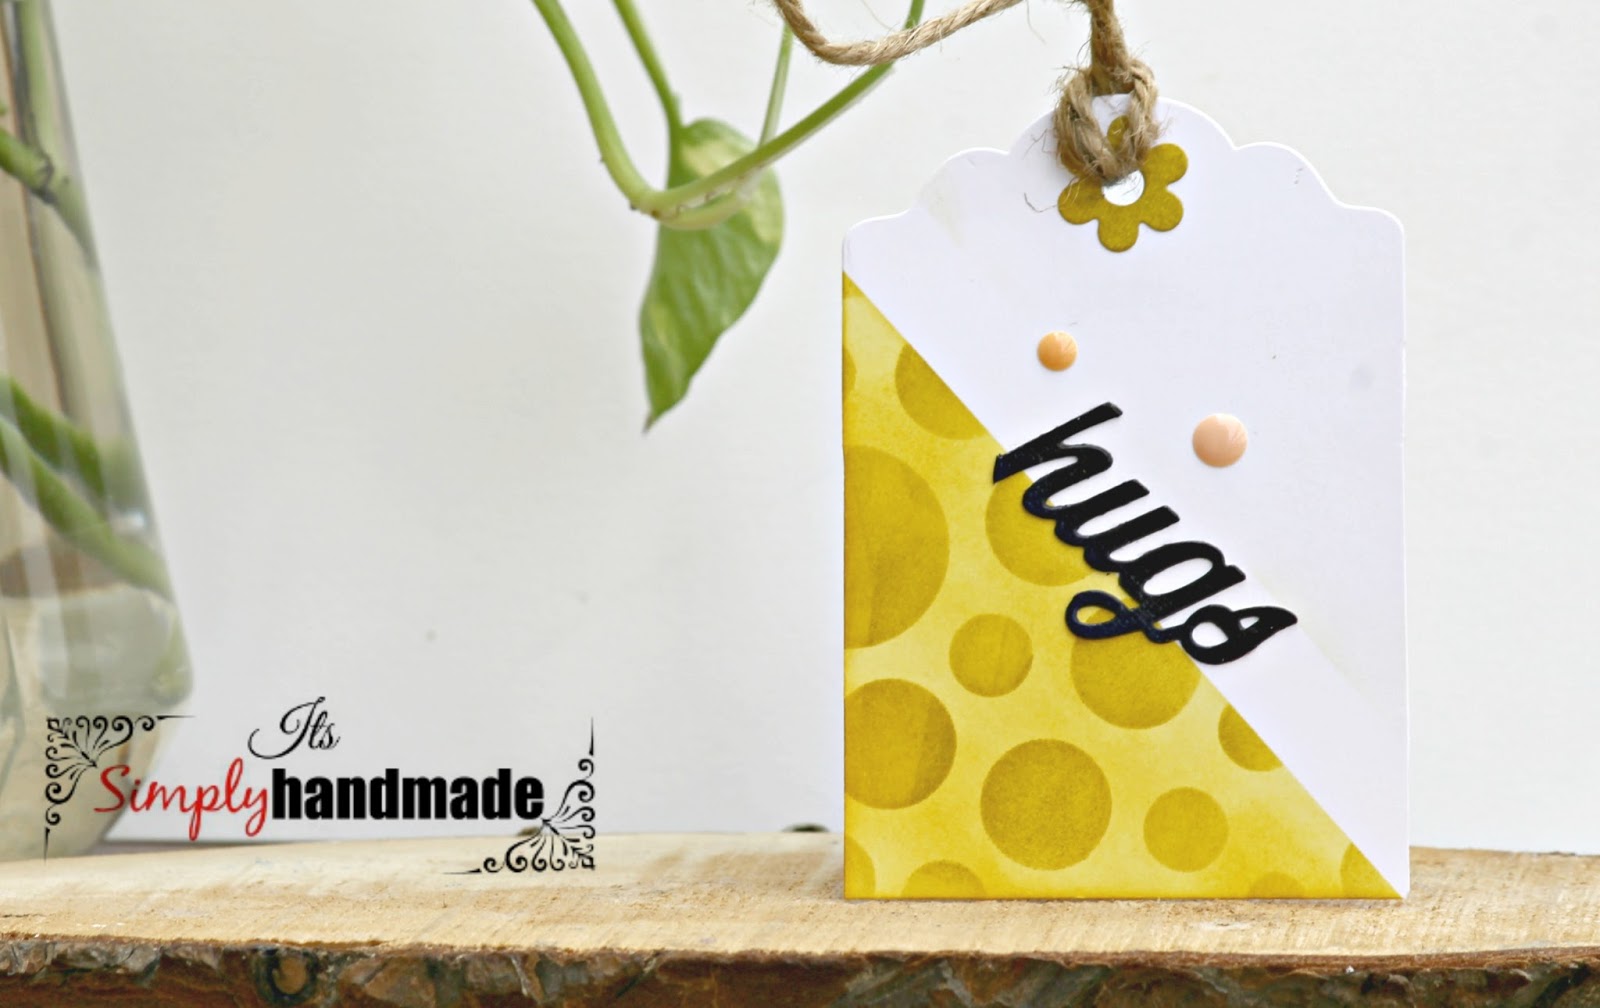
So here's my take on it.


I used Heartfelt Creation flower die for the main flower. The Small yellow flowers are from Cheery Lynn embellishment die set. I used the Double die pattern using a DCWV pattern paper to stack the tag and Definitely the bg is white heat embossed

Hope you like it!
See you soon with some more creation!
XOXO

Made for : Tag You're it #50


Friday, June 24, 2016

Baby's 1st year Mini!

Hello Friends,

Today's post is very special to me as the project features the stamp set designed by me and published by Peek-a-boo.Thanks Vidushi for the opportunity and releasing it to the world.

I made this project keeping in consideration "Lulupu" Challenge also and specially for another reason :).

So its a mini album inspired by TP roll mini's. The tutorial that I have used is from " My Sister Scrapper" however changed the dimension and also made the pages not from TP rolls.


The Pattern paper is from DCWV and the base Card stock is from Peek-a-boo.

Now to revel the inside pages. The Inside Pages are made with white Fabriano CS. Each of the page is distress and given a unique background using "Technique Tuesday" and "Peek-a-boo" stamp set.


Each page depicts each month with the quote for each month and then the inside tags are used for photo mats.


The album has a total of 6 pages, with 12 sides for 12 months. I have used the Stack the Deck binding system for this album.


The below the are tags.The topper are made from scallop punch and then slit to create the tabs.


Below is the close up view for each of the page :)

Months 1- 4

Months 5-8

Months 9 - 12


Entering in Lulupu #62
( Album | Baby Theme| Stars in Page/month 8)

Soon will be back with some more exciting projects.
Please do leave some love and comments :)
XOXO


Tuesday, June 21, 2016

Thanks

Hello Friends, today I am at the Peek-a-boo blog showcasing my projects for the last month of my DT Tenure.


I have used a Punch Border to create the tags and give a decorative edge.

XOXO
See you soon at the next blog!


Tuesday, June 14, 2016

Hugs!

Hello Friends! Its mid month already and I hope you all have a fabulous crafty time so far.

Today's project is special as its a new launched product for peek-a-boo and I take the pride to be amongst few to try my hands on it. Before I share my project below few points for the stencils.


  • Yes, it is made in India that too with the same quality and output.
  • The size is 8.5" - 9" so you can use it for your Mixed Media Layout also.
  • The launch designs are amazing and versatile.
  • Also it has a punched hole for easy storage.


And here's what I made using these cuties.


Intentionally I did not use any heavy embellishments or stamping as I wanted the Stencil to steal the show.

Do let me know how you liked it and also below is where you can buy the stencils.

http://thepeekaboodesigns.com/index.php/stencils.html

See you soon at the next blog!
XOXO


Saturday, June 11, 2016

Thanks!

Hello friends, Today my creation is for the Sketch Saturday Team. We have a sketch challenge and every Saturday we have a new sketch to share.


This time I tried a interactive approach to the sketch as I wanted to make something " out of box" to a sketch.

So I used the sketch to create a criss cross pocket on the card which has 2 tags.


The flowers are prima flowers and used the tags to have the sentiment.

Also used a small metal brad to add the finishing touch,

Hope you like and would love to hear your comment for my work :)

See you soon at the next blog!


Thursday, June 9, 2016

My Love for Black...Continues!

Hello Crafty Friends, hope this find you in your craft space as I am back with my DT project for "Happy Little Stamper" Anything goes with Dies.

Yes my love for  Black continues and you can see my last post here and today I have a layered card for the challenge.


Following are the dies used for this project.

Supplies
Spell Binder : A2 Bracket Border - 1
Spell Binder - Shapeabilities Dies
Spell Binder : Standard Circle LG
Cheery Lynn : Mini Fanciful Flourish
Cheery Lynn : BAF Embellishment #3
Heartfelt Creation : Daisy Flower Die
Neenah White CS
American Crafts : Black CS

Hope you will like us and thanks for stopping by!
XOXO!


Friday, June 3, 2016

Magnetic Book Mark - Tutorial

Hello Fellow crafters, today I have a tute for a magnetic bookmark and without further talking lets hop on to the pictorial tute.


1. Gather your Supplies. I am using 2 stamp set.


2. Stamp all the cute , small elements from the set that you choose and color them. I have used Distress ink to color them and used my Sharpie to darken the eyes and tale :)


3. Cut some strips of any CS which should be smaller in size than the stamped image.
Also cut equal/smaller size magnetic strip. I have used square magnetic sheet that I sourced from Amazon. You can use any.


4. And the result are these cuties. See to it that the strips are not bigger than the image.


Thanks for stopping by and hope you liked it.

See you at the next blog!


Wednesday, June 1, 2016

Explosion Box !

A new month, a new challenge and some new release at the Peek- a- boo Design House. Today we will be sharing our creations with all the releases this month.

I must say they are not those that you see around usually, some are must for your collection and some you cant do without :)

So I picked one of the many favs from this month's collection and created a Gift Box that too explosion. How about that.


 So the stamp set that I have used in major is a Back to School Theme and since I did not have any School theme PP, I used the stamps to create my own background.

Below is the snapshot each of the 4 sides which has elements of the school. This box can be used as a gift box for which I have put a smaller box inside which can hold any gift, chocolates or anything custom.

Used Vellum  as a background to the images so to highlight the same. Each of the outer sides has some super fun congrats messages for the one you are gifting.


Hope you like it and use the stamp set for your own creation.

Supplies:

Brown CS - http://thepeekaboodesigns.com/index.php/card-stock/basic/brown-10.html
Vellum : http://thepeekaboodesigns.com/index.php/vellum-5.html
Stamps Alphas : http://thepeekaboodesigns.com/index.php/stamp/4x4/scripty-alphas.html
Stamps : http://thepeekaboodesigns.com/


Now to some more fun

Yes, a Blog Hop you must have read already and its 6 fun filled months with Peek- a - boo Designs.Learning new things, sharing your creations and working together for hours.

So here's the rule to the Blog Hop


The Mega Prize is a Rs.1000  gift voucher  to choose what you like at the Peek-a-boo Designs online store.

Here are the details of the Blog Hop:

  • Five winners will be chosen at RANDOM from any of the design team blogs and they would get the gorgeous creations made by our DT and some goodies that they would add along.

  • Leave a comment on the design team blogs listed below and the Peek-a-boo Designs blog for your chance to win!

  • Be sure to be a follower of all the Blogs (5 DT Blogs and 1 Peek-a-boo Design Blog)
  • Deadline: You have until midnight IST on Thursday, 30th June to leave a comment. 
  • Tell us that you Facebooked about our blog hop by tagging us and using ---> #PABDbloghop
  • Tell us that you shared it with your Instagram friends by tagging us (@peekaboo_designs)  and using ---> #PABDbloghop
  • Tell us that you posted on your blog about our blog hop by linking your blog hop post to the assigned inlink.